DIY Home Décor
Step-by-Step Guide to Creating a DIY Accent Wall That Stands Out
Transform your room with a personalized DIY accent wall. Discover step-by-step instructions, pro painting tips, creative wall ideas, and actionable planning strategies for your next home project today.
Advertisement
Set Your Project Goals Early for a Focused, Personalized Result
Identify the Best Wall and Its Visual Effect
Match Colors and Styles with Your Existing Decor
| Wall Type | Best Finish | Ideal Color Choices | Takeaway |
|---|---|---|---|
| Drywall | Eggshell or Matte | Rich tones, bold colors | Smooth finish makes painting and touch-ups easy |
| Paneled Wood | Satin or Semi-gloss | Darker or mid-tone hues | Highlights texture, use primer for best results |
| Brick | Masonry paint | Deep colors or whitewash | Embrace imperfections for rustic charm |
| Plaster | Flat or Venetian plaster | Earthy tones, neutrals | Test paint in a small section first |
| Textured | Flat for less glare | Soft colors | Bold colors can emphasize roughness |
Streamline Planning with Smart Prep and a Custom Checklist
Evaluate Wall Condition and Make Quick Repairs
- Clear the area—move furniture away from your chosen wall to protect items and create space for work. Cover floors with a drop cloth to prevent accidental spills or scuffs that make cleanup harder.
- Wash the wall using mild soap and water. Dust, grease, or fingerprints can prevent proper paint or adhesive bonding. Skip harsh scrubbers to avoid unnecessary surface scratches or residue.
- Fill all holes or dents with spackle. Dry for at least half an hour. Sand gently until the patched areas feel flush with your fingertip, then wipe the wall again with a damp cloth to remove dust.
- Mark your layout using painter’s tape—this defines edges for paint, panels, or stencils and helps visualize your design before committing. If splatter is expected, create an extra border with newspaper or plastic trim.
- Assemble tools and supplies—double-check your checklist: primer, paint, rollers, brushes, tape, drop cloth, measuring tape, level, and step stool. Lay everything out in arm’s reach on a towel nearby.
Gather Reliable Materials Before Starting
- Purchase primer to ensure color adheres evenly and lasts. Ask for high-hiding types at the hardware store; these cover up old stains or tape lines for a pro-grade look every time.
- Choose painter’s tape that’s easy to remove, especially if you have textured or delicate walls. Blue tape is a go-to for crisp edges, but green tape levels up for tougher surfaces and longer projects.
- Pick your favorite roller sleeve thickness. Thin sleeves create a super-smooth look, while thick nap rollers cover rough brick or plaster more easily in fewer passes—which streamlines effort.
- Find a high-quality angle brush for clean corners and trim. Poor brushes shed bristles, causing more touch-ups and post-paint cleanup than necessary. Look for firm bristles and ergonomic handles.
- Test your supplies before jumping in. Patch test paint on poster board to see color accuracy. Run tape over a hidden section of wall to confirm it peels up without tearing paint or paper underneath.
Create Stunning Visuals with Strategic Paint Techniques and Layering
Use Tape and Stencils for Precision and Playfulness
Create Depth with Ombre or Color-Blocked Effects
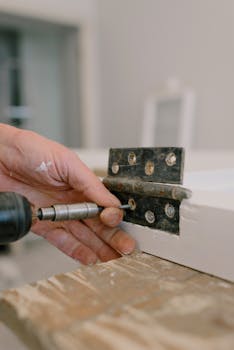
Add Bold Texture with Wood, Panels, and Dimensional Accents
Install Reclaimed Wood for Warmth and Character
Try Stick-On Panels or 3D Tiles for Contemporary Flair
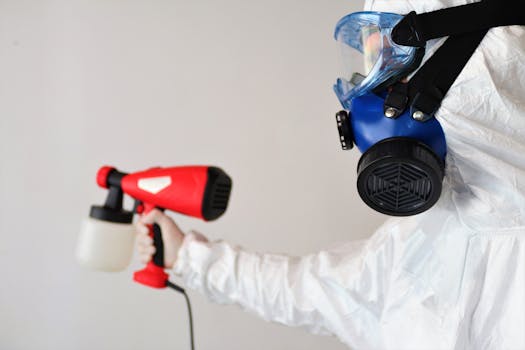
Polish Your Project with Finishing Touches and Maintenance Strategies
Seal and Protect Painted or Paneled Surfaces
Style and Accessorize for Full Room Cohesion
Explore Creative Scenarios for Any Room, Any Style
Make Bedrooms Restful Retreats with Muted Tones
Transform Dining Rooms with Expressive Hues or Patterns
Frequent Questions and Actionable Answers for Every DIYer
Frequently Asked Questions
What tools do I need to create a diy accent wall?
A basic toolkit includes painter’s tape, roller, brush, primer, paint, level, drop cloth, and screwdriver. For advanced finishes or wood work, add a miter saw, adhesive, and finishing nails. Keep materials within reach before beginning.
How can I repair a diy accent wall if something goes wrong?
For paint runs or patches, let them dry and sand lightly before touching up with a matching paint color. For panel or wood mistakes, reposition carefully, using adhesive touch-up if needed.
Is it possible to switch accent wall styles or colors easily?
Yes—primer and repainting work for color updates. For stick-on panels or decals, start at a corner and slowly peel. Sand and reapply paint or new panels for a brand-new look quickly.
Which wall is best for an accent feature in a small room?
Usually, the entry-facing or windowless wall makes the biggest impact without overwhelming the space. In bedrooms, the wall behind the headboard works best; in living rooms, choose the wall behind the sofa.
Can renters create accent walls without risking damage or forfeiting deposits?
Yes—use removable wallpaper, foam tiles, or large canvas art for non-permanent design. Always test a small area and save original paint swatches for touch-ups before moving out.